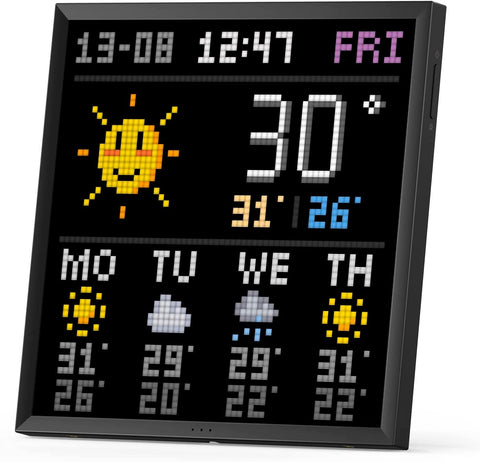
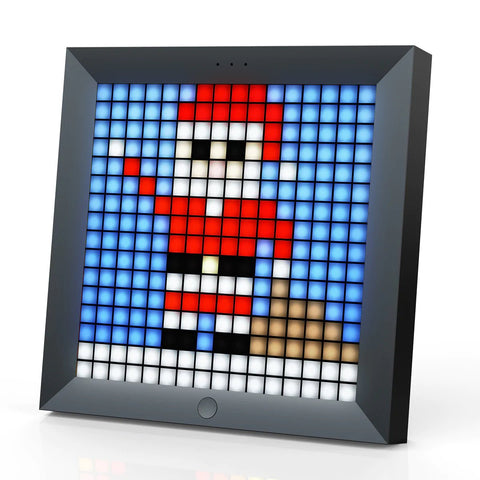
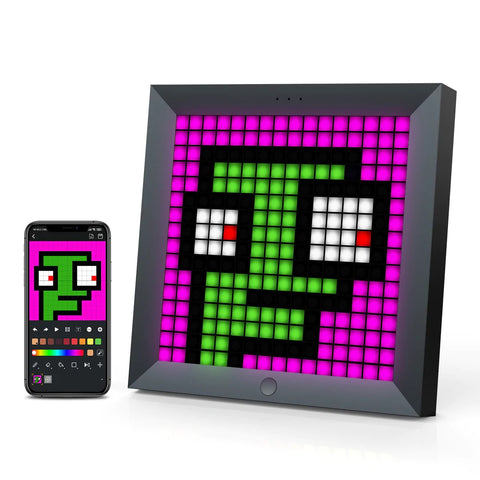
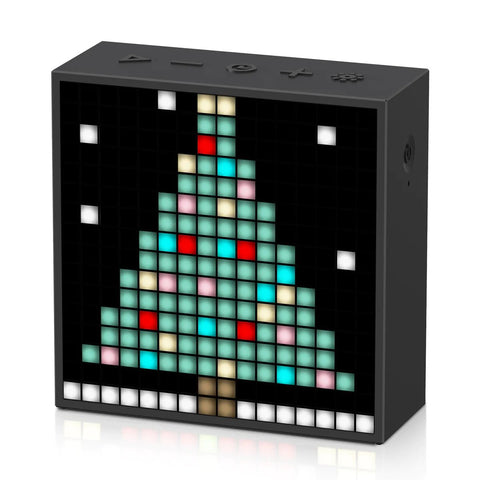
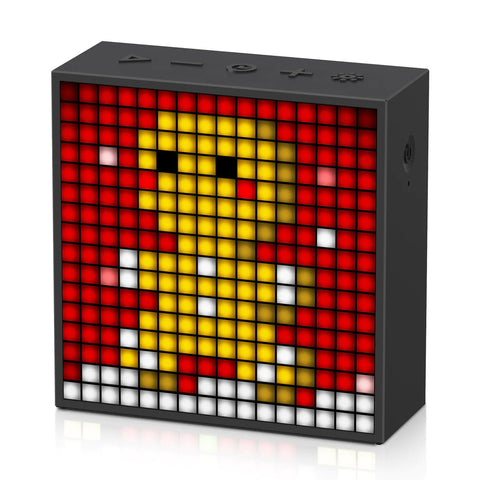
Adding an interactive pixelated light display to your gaming or office space can completely transform its aesthetics, adding an exciting and futuristic vibe. Whether you want to create a dynamic backdrop for your gaming sessions or need a quirky lighting solution for your home office, this guide will walk you through the process.
Why Choose Interactive Pixelated Light Displays?
Before we dive into the steps, let's understand why interactive pixelated light displays can be a great addition to your space:
- They provide a unique and customizable aesthetics that can't be reproduced by traditional lighting.
- They add an interactive element to your space, allowing you to change the display based on your mood, the time of the day, or even in response to music.
- They can potentially enhance your gaming experience by acting as an additional feedback mechanism.
- For office spaces, they can serve as a dynamic, visual representation of data or as mood lighting to enhance productivity.
Step-by-Step Guide to Setting Up an Interactive Pixelated Light Display
Setting up an interactive light display might sound complicated, but with a little guidance, you can do it yourself. Here's a step-by-step guide:
-
Step 1: Choose Your Lighting System
Research and understand the different interactive lighting systems available in the market. Choose one that fits your budget, the size of your space, and the aesthetics you are going for. Some popular choices are Nanoleaf light panels and LIFX Beam.
-
Step 2: Plan Your Display
Plan the layout of your light display. This could be on a wall, across your desk, or even along the ceiling, depending on the space available and your personal preference. Sketch out a rough idea of what you want the final display to look like.
-
Step 3: Installation
Install the light panels according to the manufacturer's instructions. This usually involves attaching the panels to the wall or ceiling using adhesive strips and connecting them together using connectors. Make sure you have a nearby power source.
-
Step 4: Setting Up the Control Software
Most interactive light displays are controlled via an app. Download the respective app for your product, and set up the panels on the app. This will involve giving the app permission to access the panels and configuring the display settings.
-
Step 5: Customize Your Display
Once everything is set up, the last step is the most fun— customizing your display. Change the colors, set dynamic effects, and even sync it with your music or game sounds, based on the capabilities of the system you've chosen.
Practical Applications of Interactive Light Displays
Interactive light displays not only add a cool look to your space but also have practical applications. Here are some examples:
-
Gaming Spaces
In a gaming setup, interactive lighting can be synced with the game's audio or visuals to add an extra layer of immersion. For example, the lights could change color based on the game’s environment or flash when a particular event occurs.
-
Office Spaces
In an office setup, pixelated light displays can be used as dynamic informational boards, where the color and pattern of the lights represent different types of data. They can also be used for ambient lighting to boost productivity or relieve stress.
-
At-Home Learning Spaces
In a home learning setting, interactive light displays can enhance the learning experience by providing visual aids. For example, the lights could be programmed to display different colors in response to quiz answers, helping children learn in an engaging way.
Final Thoughts
Interactive pixelated light displays are a versatile and creative way to add life and character to your gaming or office spaces. The possibilities are only limited by your imagination. We hope this guide has given you a head start in setting up your very own interactive light display. Go ahead and light up your space in your unique style!


